Indicators
Overview of Indicators
Indicator Overview
Indicators are PromQL queries saved as a part of an Alert Group. Alert Rules evaluate these Indicators against thresholds to generate alerts.
Creating an Indicator
Before you configure an Alert Rule, you need at least one indicator to be created in the Alert Group.
To create an Indicator:
-
Navigate to the Alert Group in which you would like to create the indicator: Home → Alert Studio → Alert Groups → Select an Alert Group → Indicators Tab and Click on the Create New Indicator
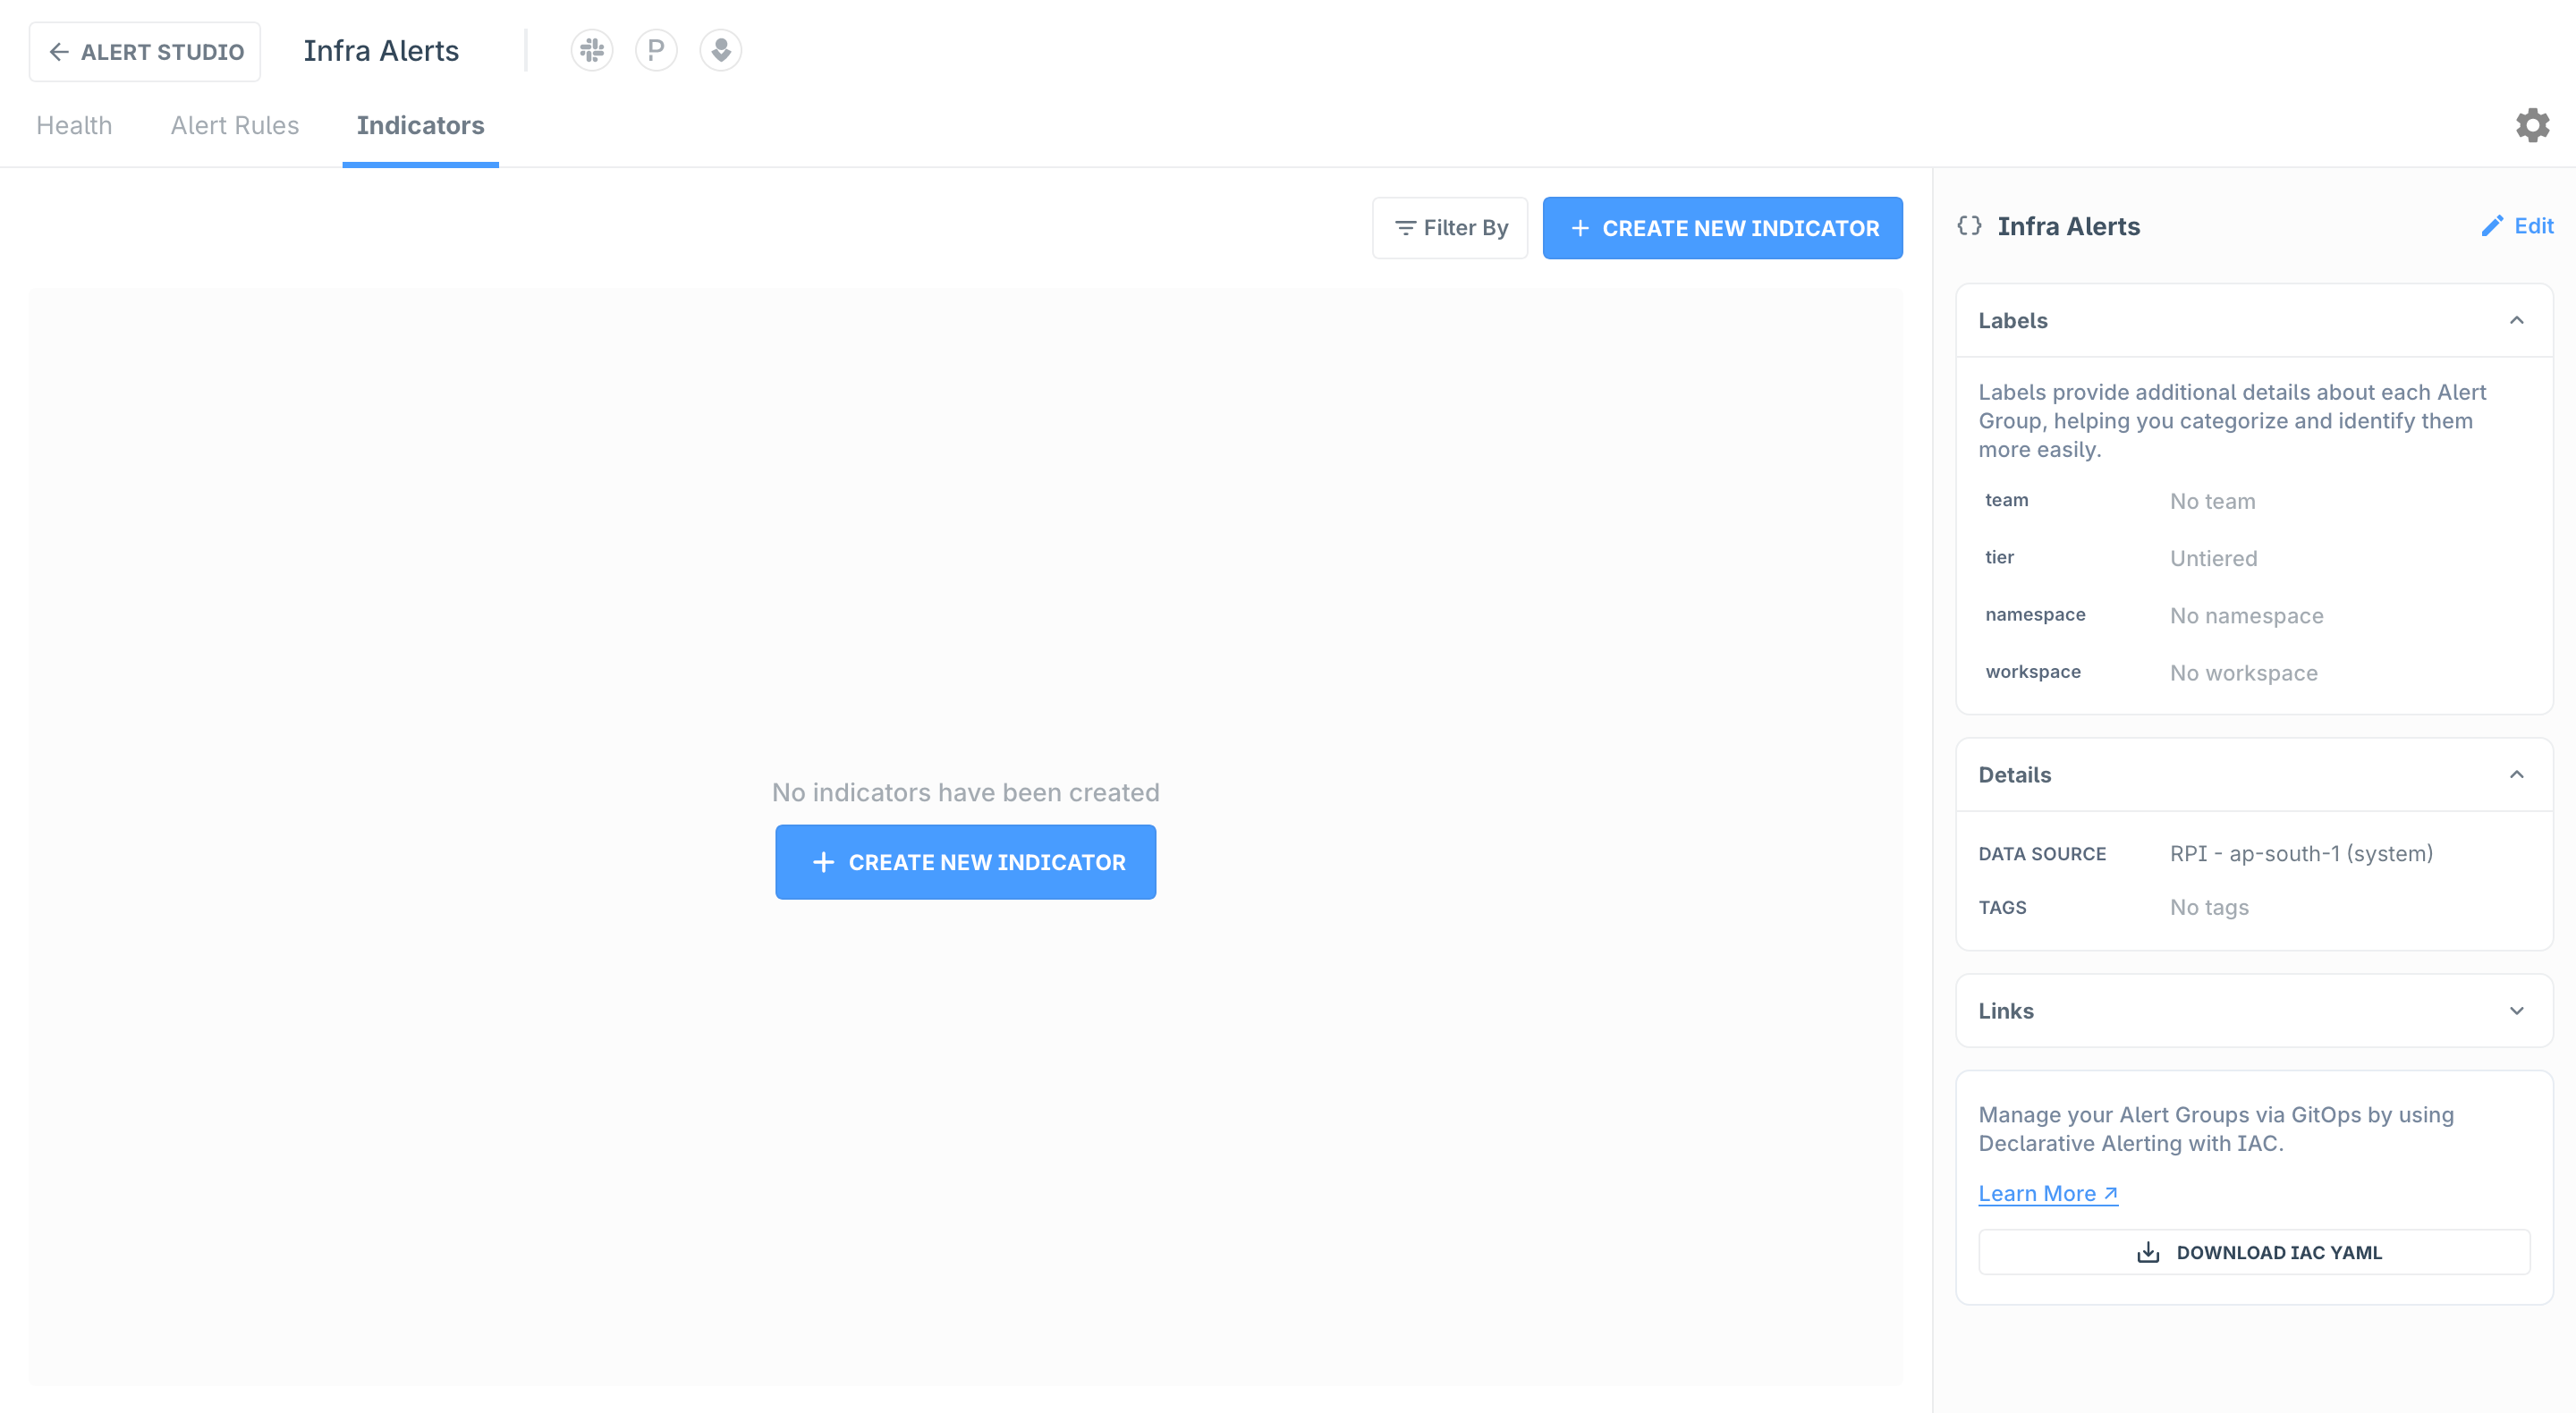
-
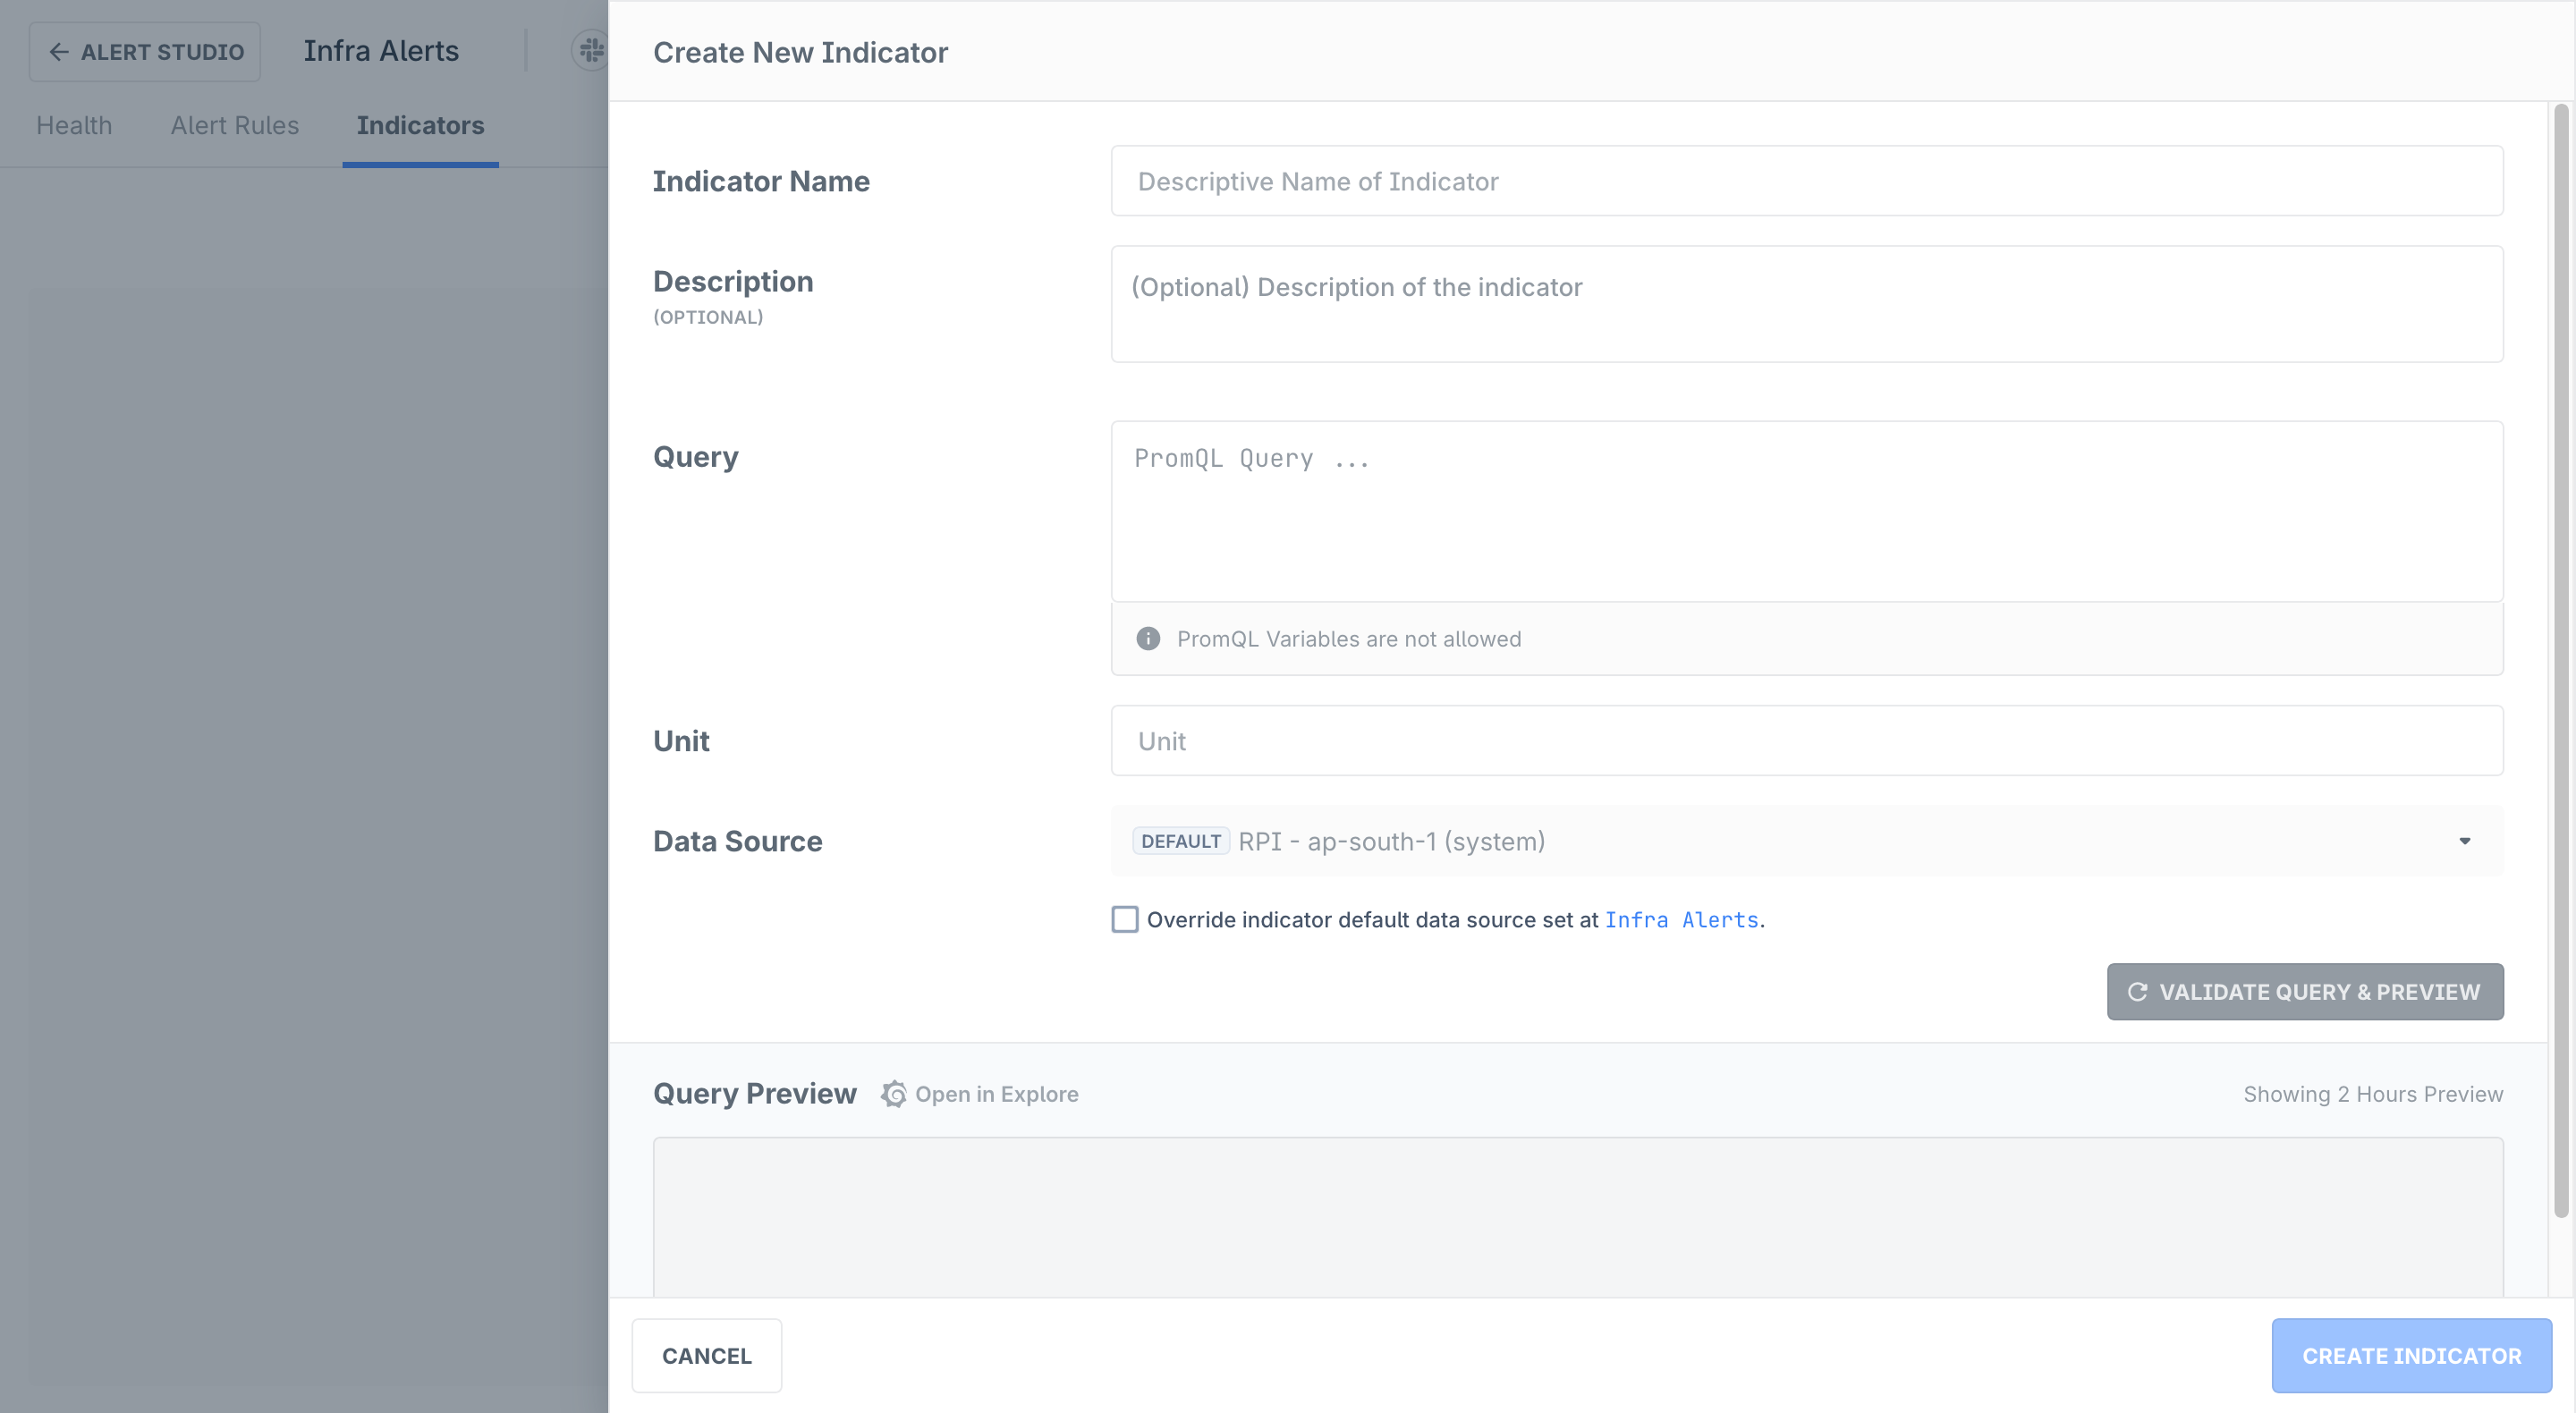
The following details are required for an Indicator:
-
Indicator Name: Use a descriptive name so that the Indicator is easily identified
-
Indicator Description (Optional): Helps your team members identify the purpose of the Indicator
-
Query: The PromQL query for the indicator. This can be a query that returns multiple timeseries (as seen in the example below) but cannot contain any variables (for example,
$instance) -
Unit: The unit that which want to assign to the indicator
-
Data Source (Advanced): By default, Indicators inherit the data source from their Alert Group. That is if you change the data source for the Alert Group the same data source will be used for the indicator. You can also override this behavior and assign a different data source for the Indicator. Once you override the Indicator’s data source, the configured data source will now take precedence over the data source configured at the Alert Group level
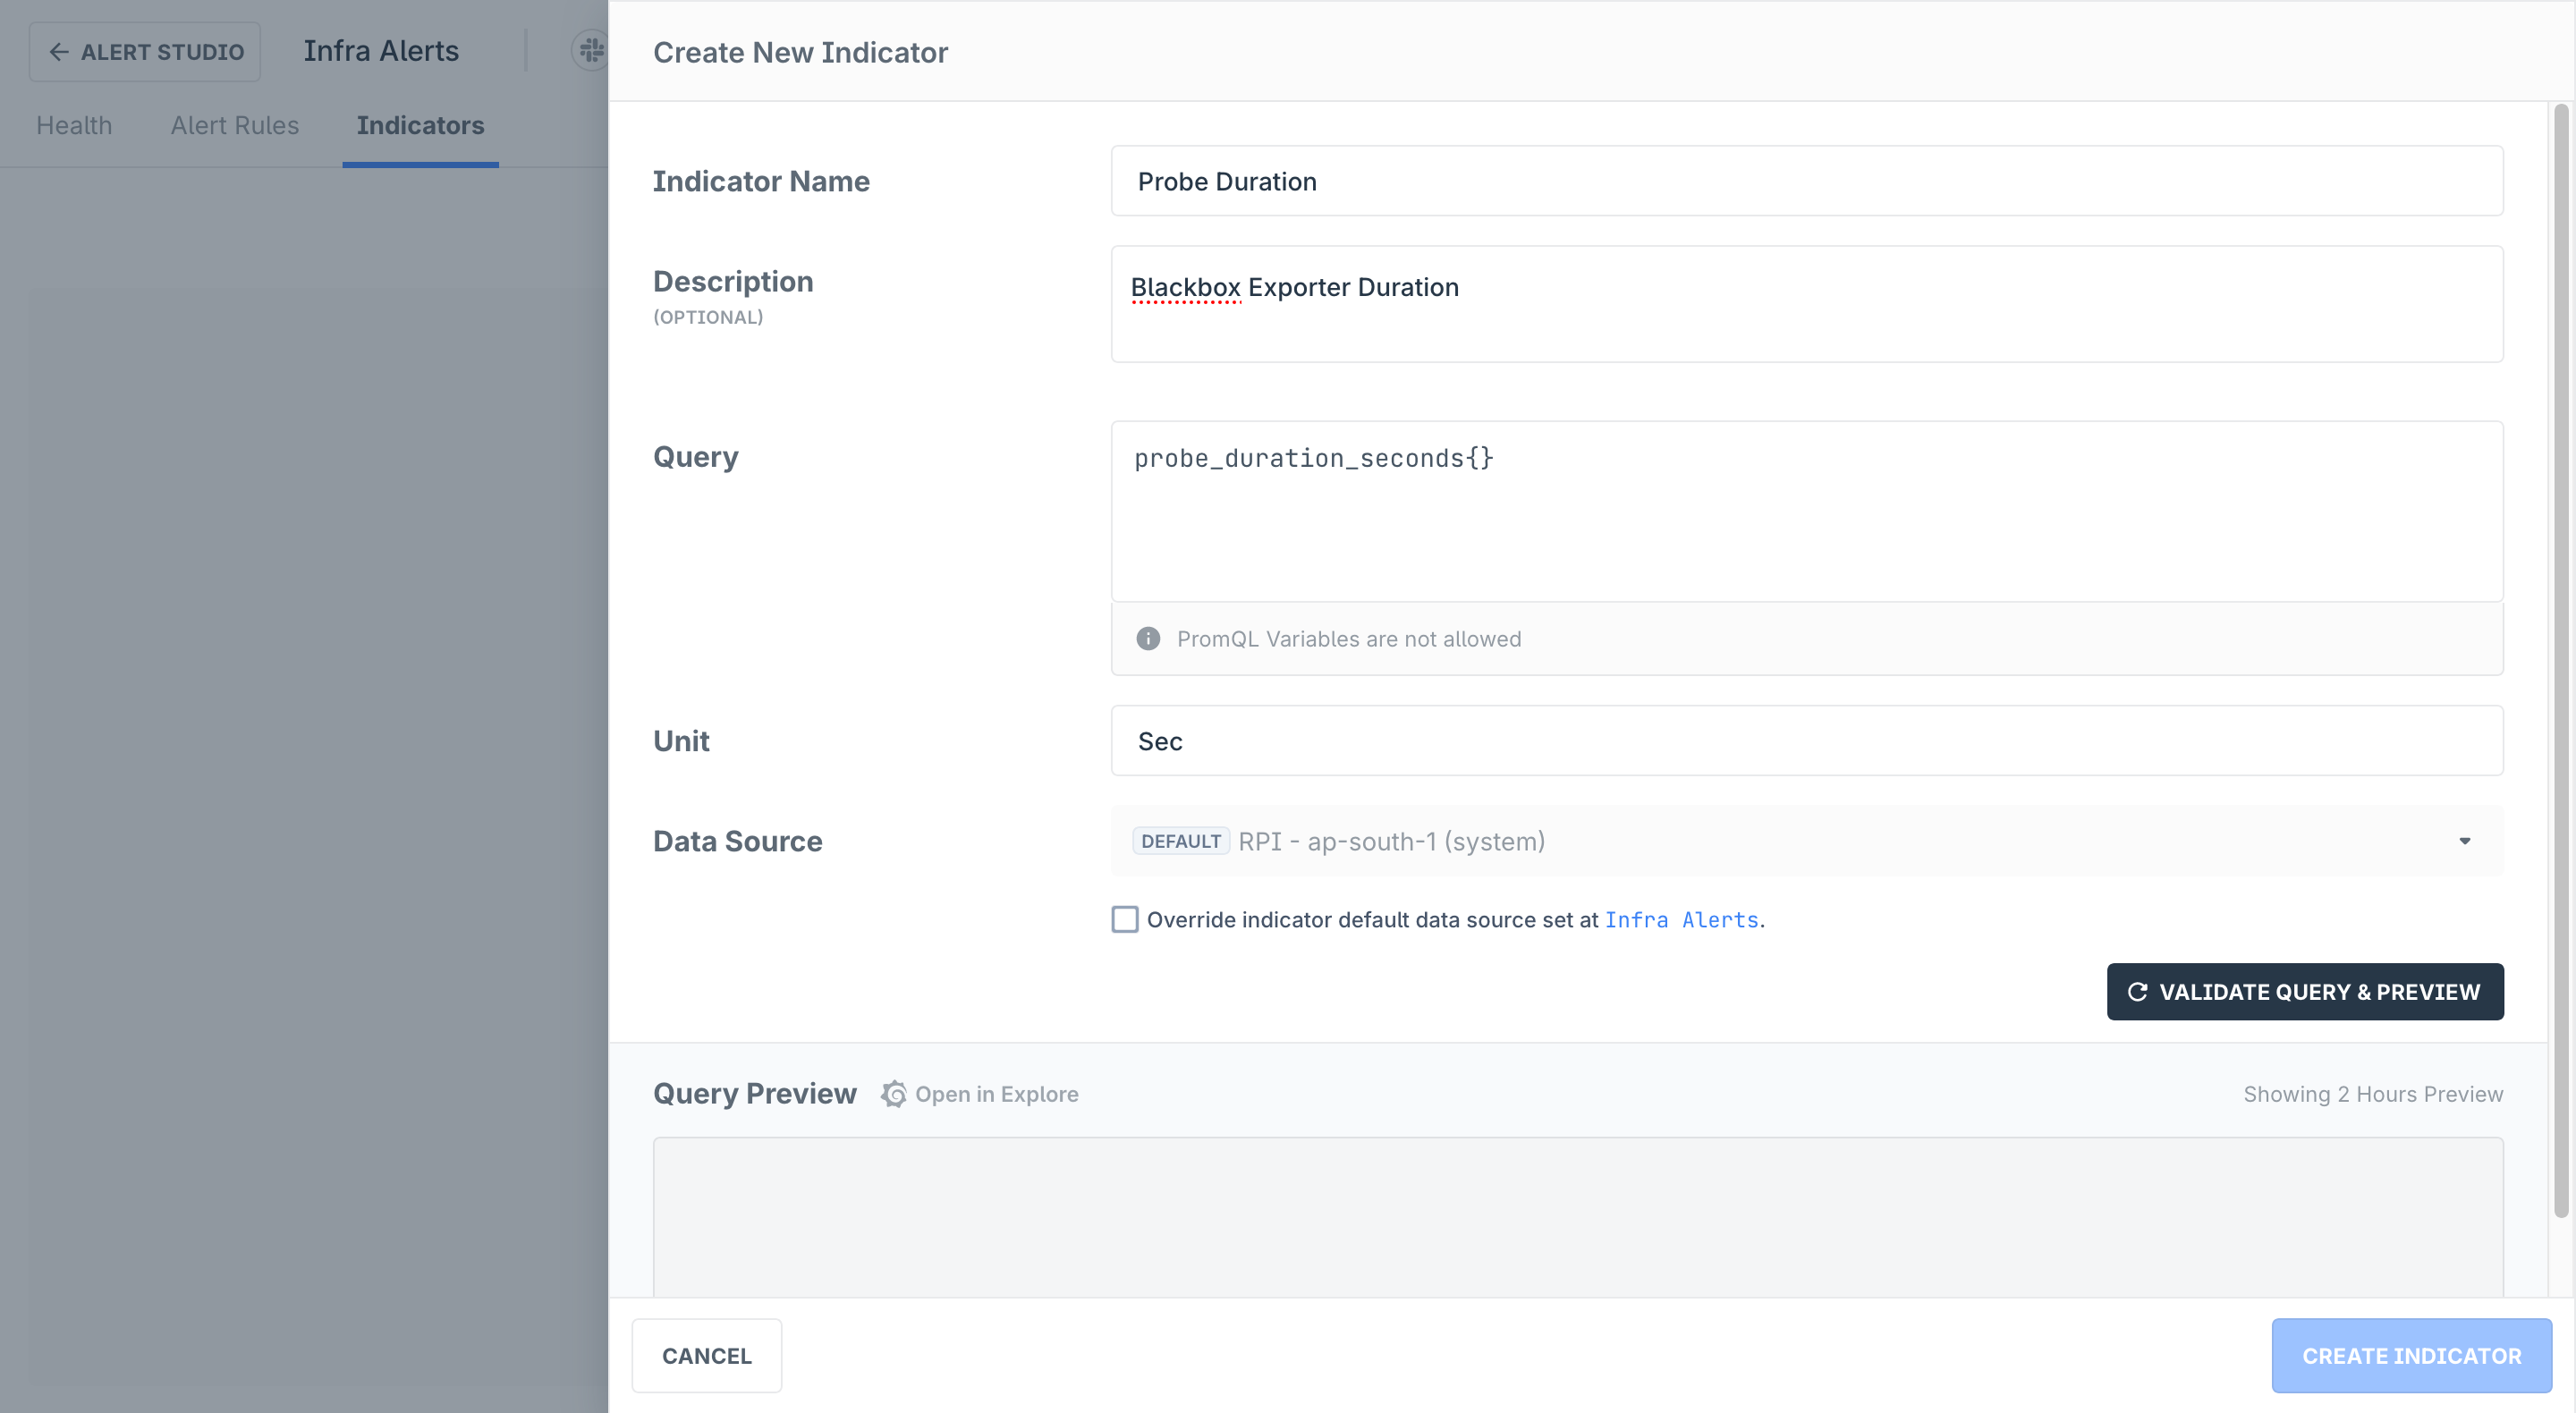
After entering the query, you will need to validate it to ensure that it has no syntax errors. If the query is validated successfully, a preview will be generated.
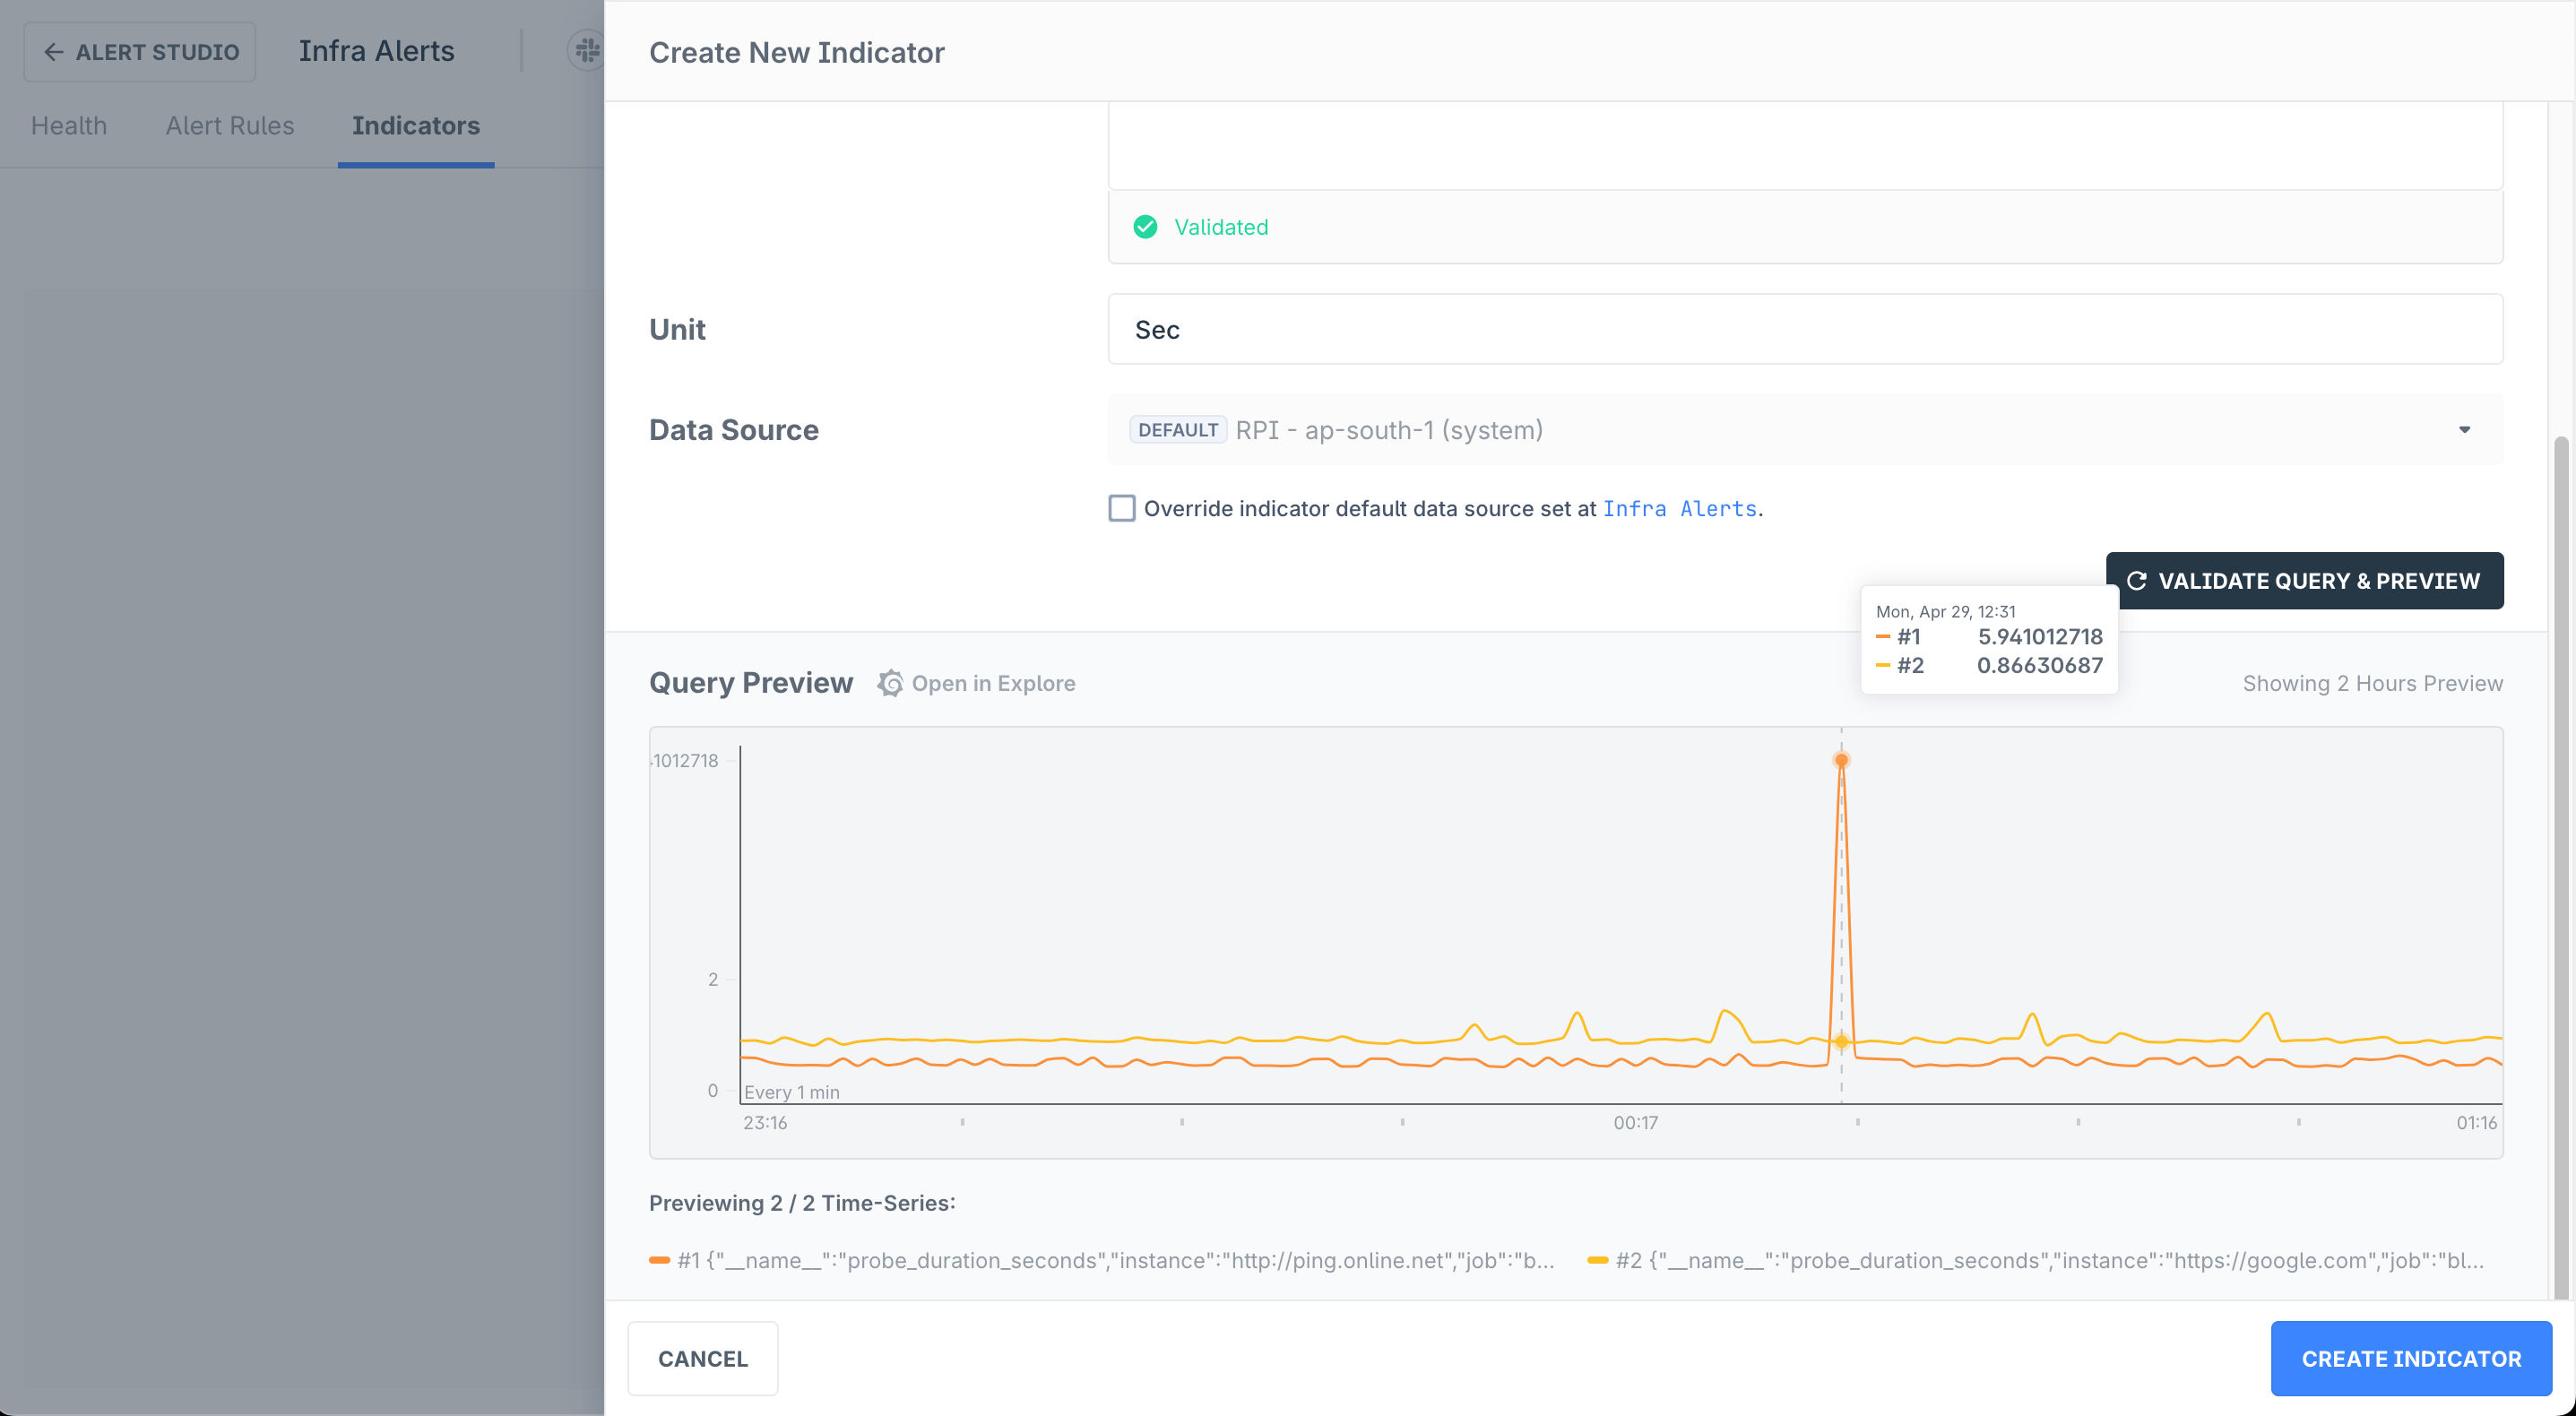
Click Create Indicator to save this Indicator.
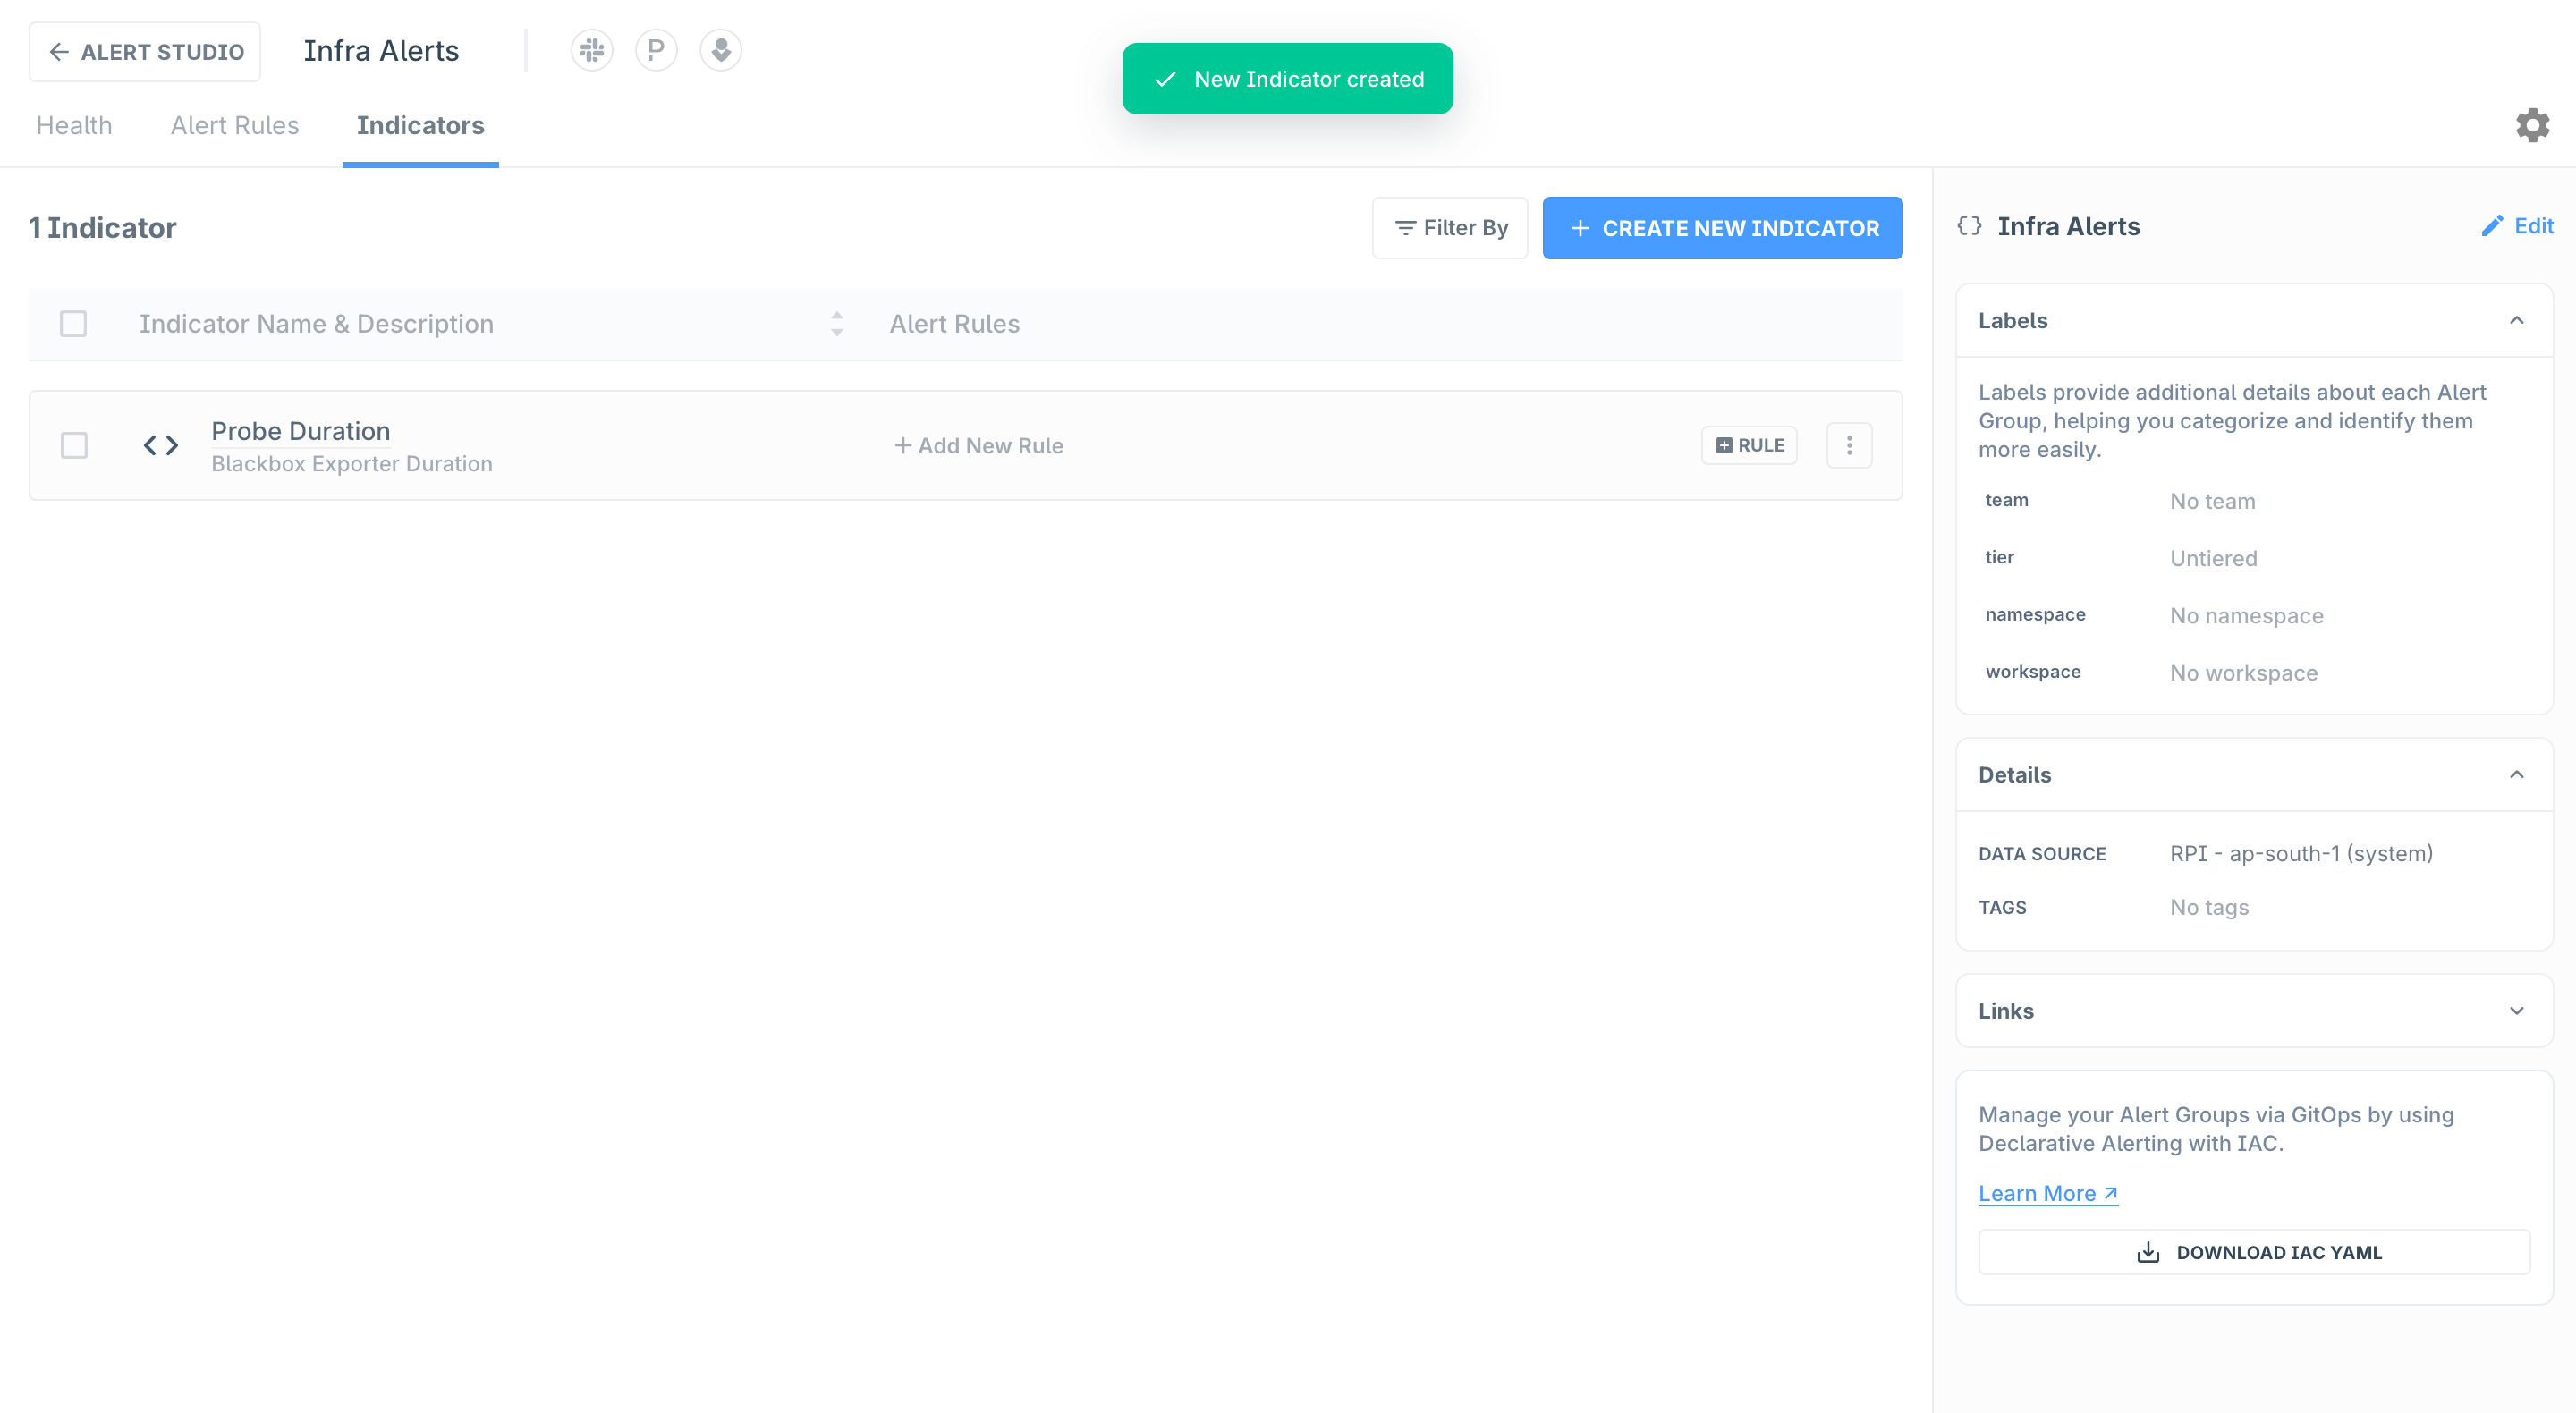
-
-
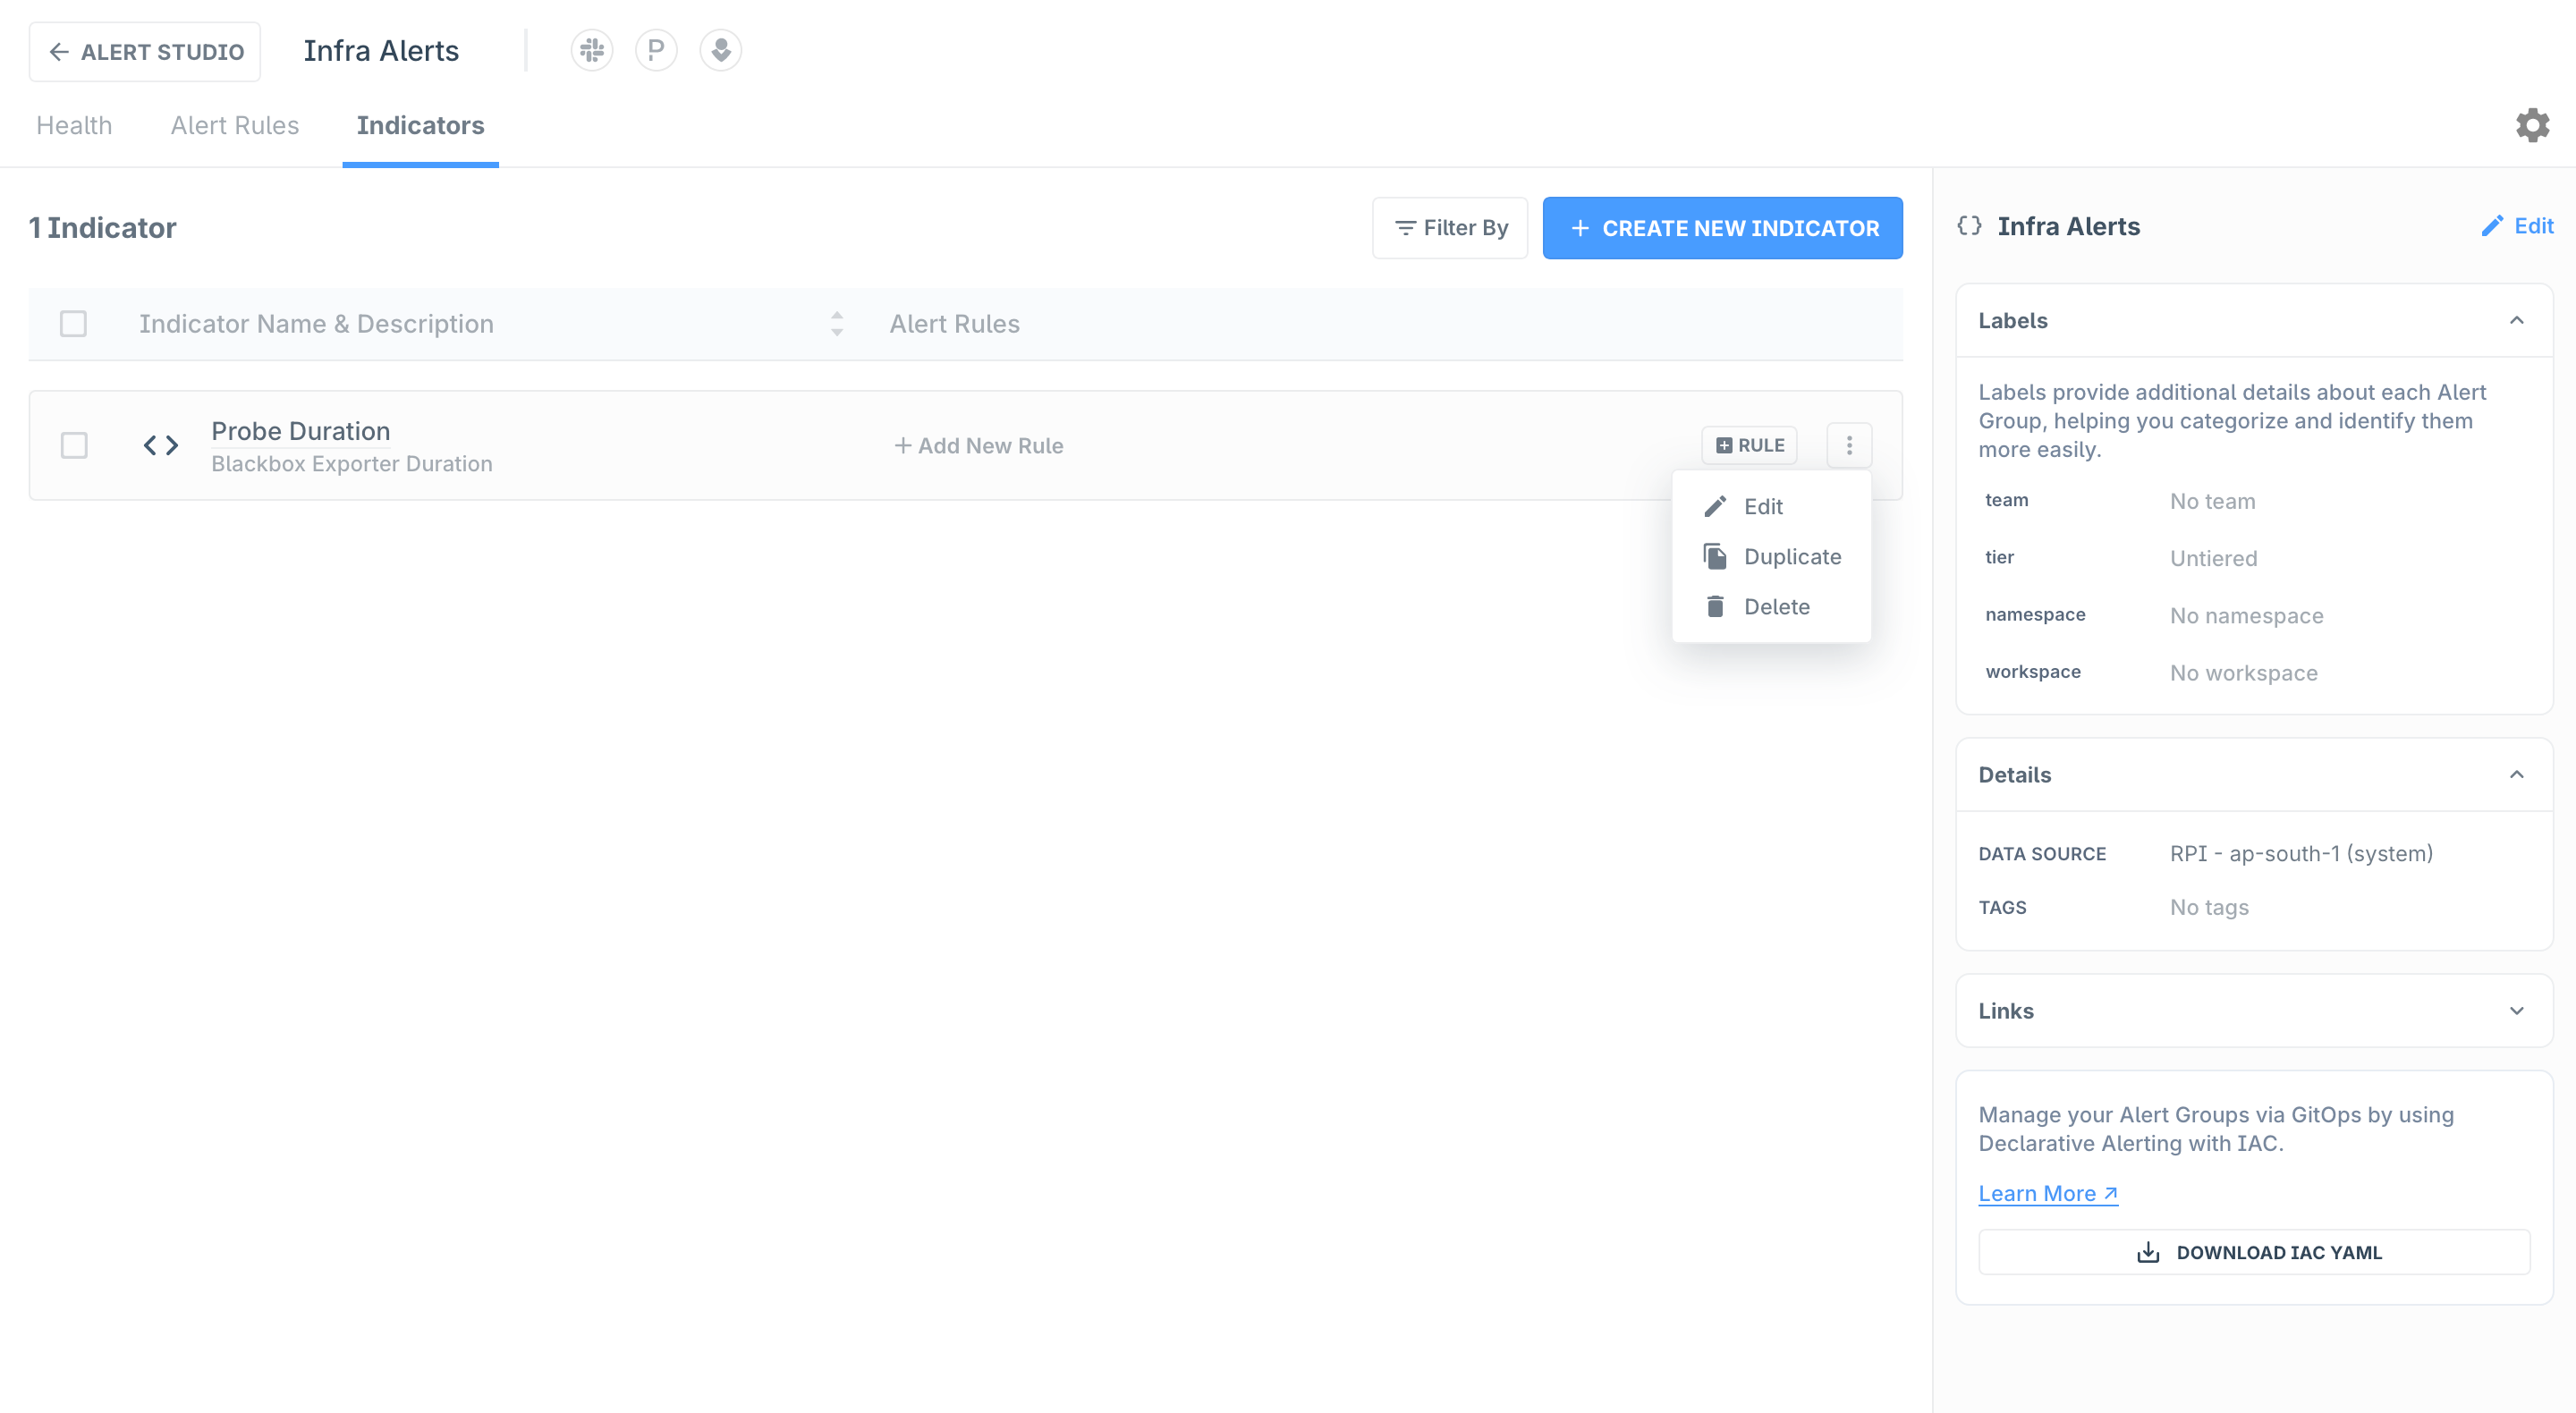
This Indicator is now ready to be used in Alert Rules. To edit/duplicate or delete this indicator can click the ... button
Troubleshooting
Please get in touch with us on Discord or Email if you have any questions.